
Removing the fog tank
The fog tank sits at the top of the plant wall frame and holds the fogger and the water it turns into the fine mist your roots grow in. This guide takes the fog tank out and puts it back. You do this to reach the fogger, either on its own when support asks you to troubleshoot it, or as the first part of another task such as replacing the fogger.
Before you start
Have a T10 screwdriver to hand
Do not touch the white discs on the fogger.
The fog tank holds water that pours out as you remove it. It can be heavy, and the water can spill, so be careful when removing it. Two people make this easier, one to hold the tank while the other works the screws.
Step 1: Unplug the cabinet from mains
Pull out either end of the power supply, at the wall or at the bottom of the cabinet.
Step 2: Undo the two middle screws
Support the fog tank from below with one hand. With the T10 screwdriver, undo the two middle screws on top of the plant wall frame. Keep holding the fog tank once the screws are out, since nothing else holds it in place.
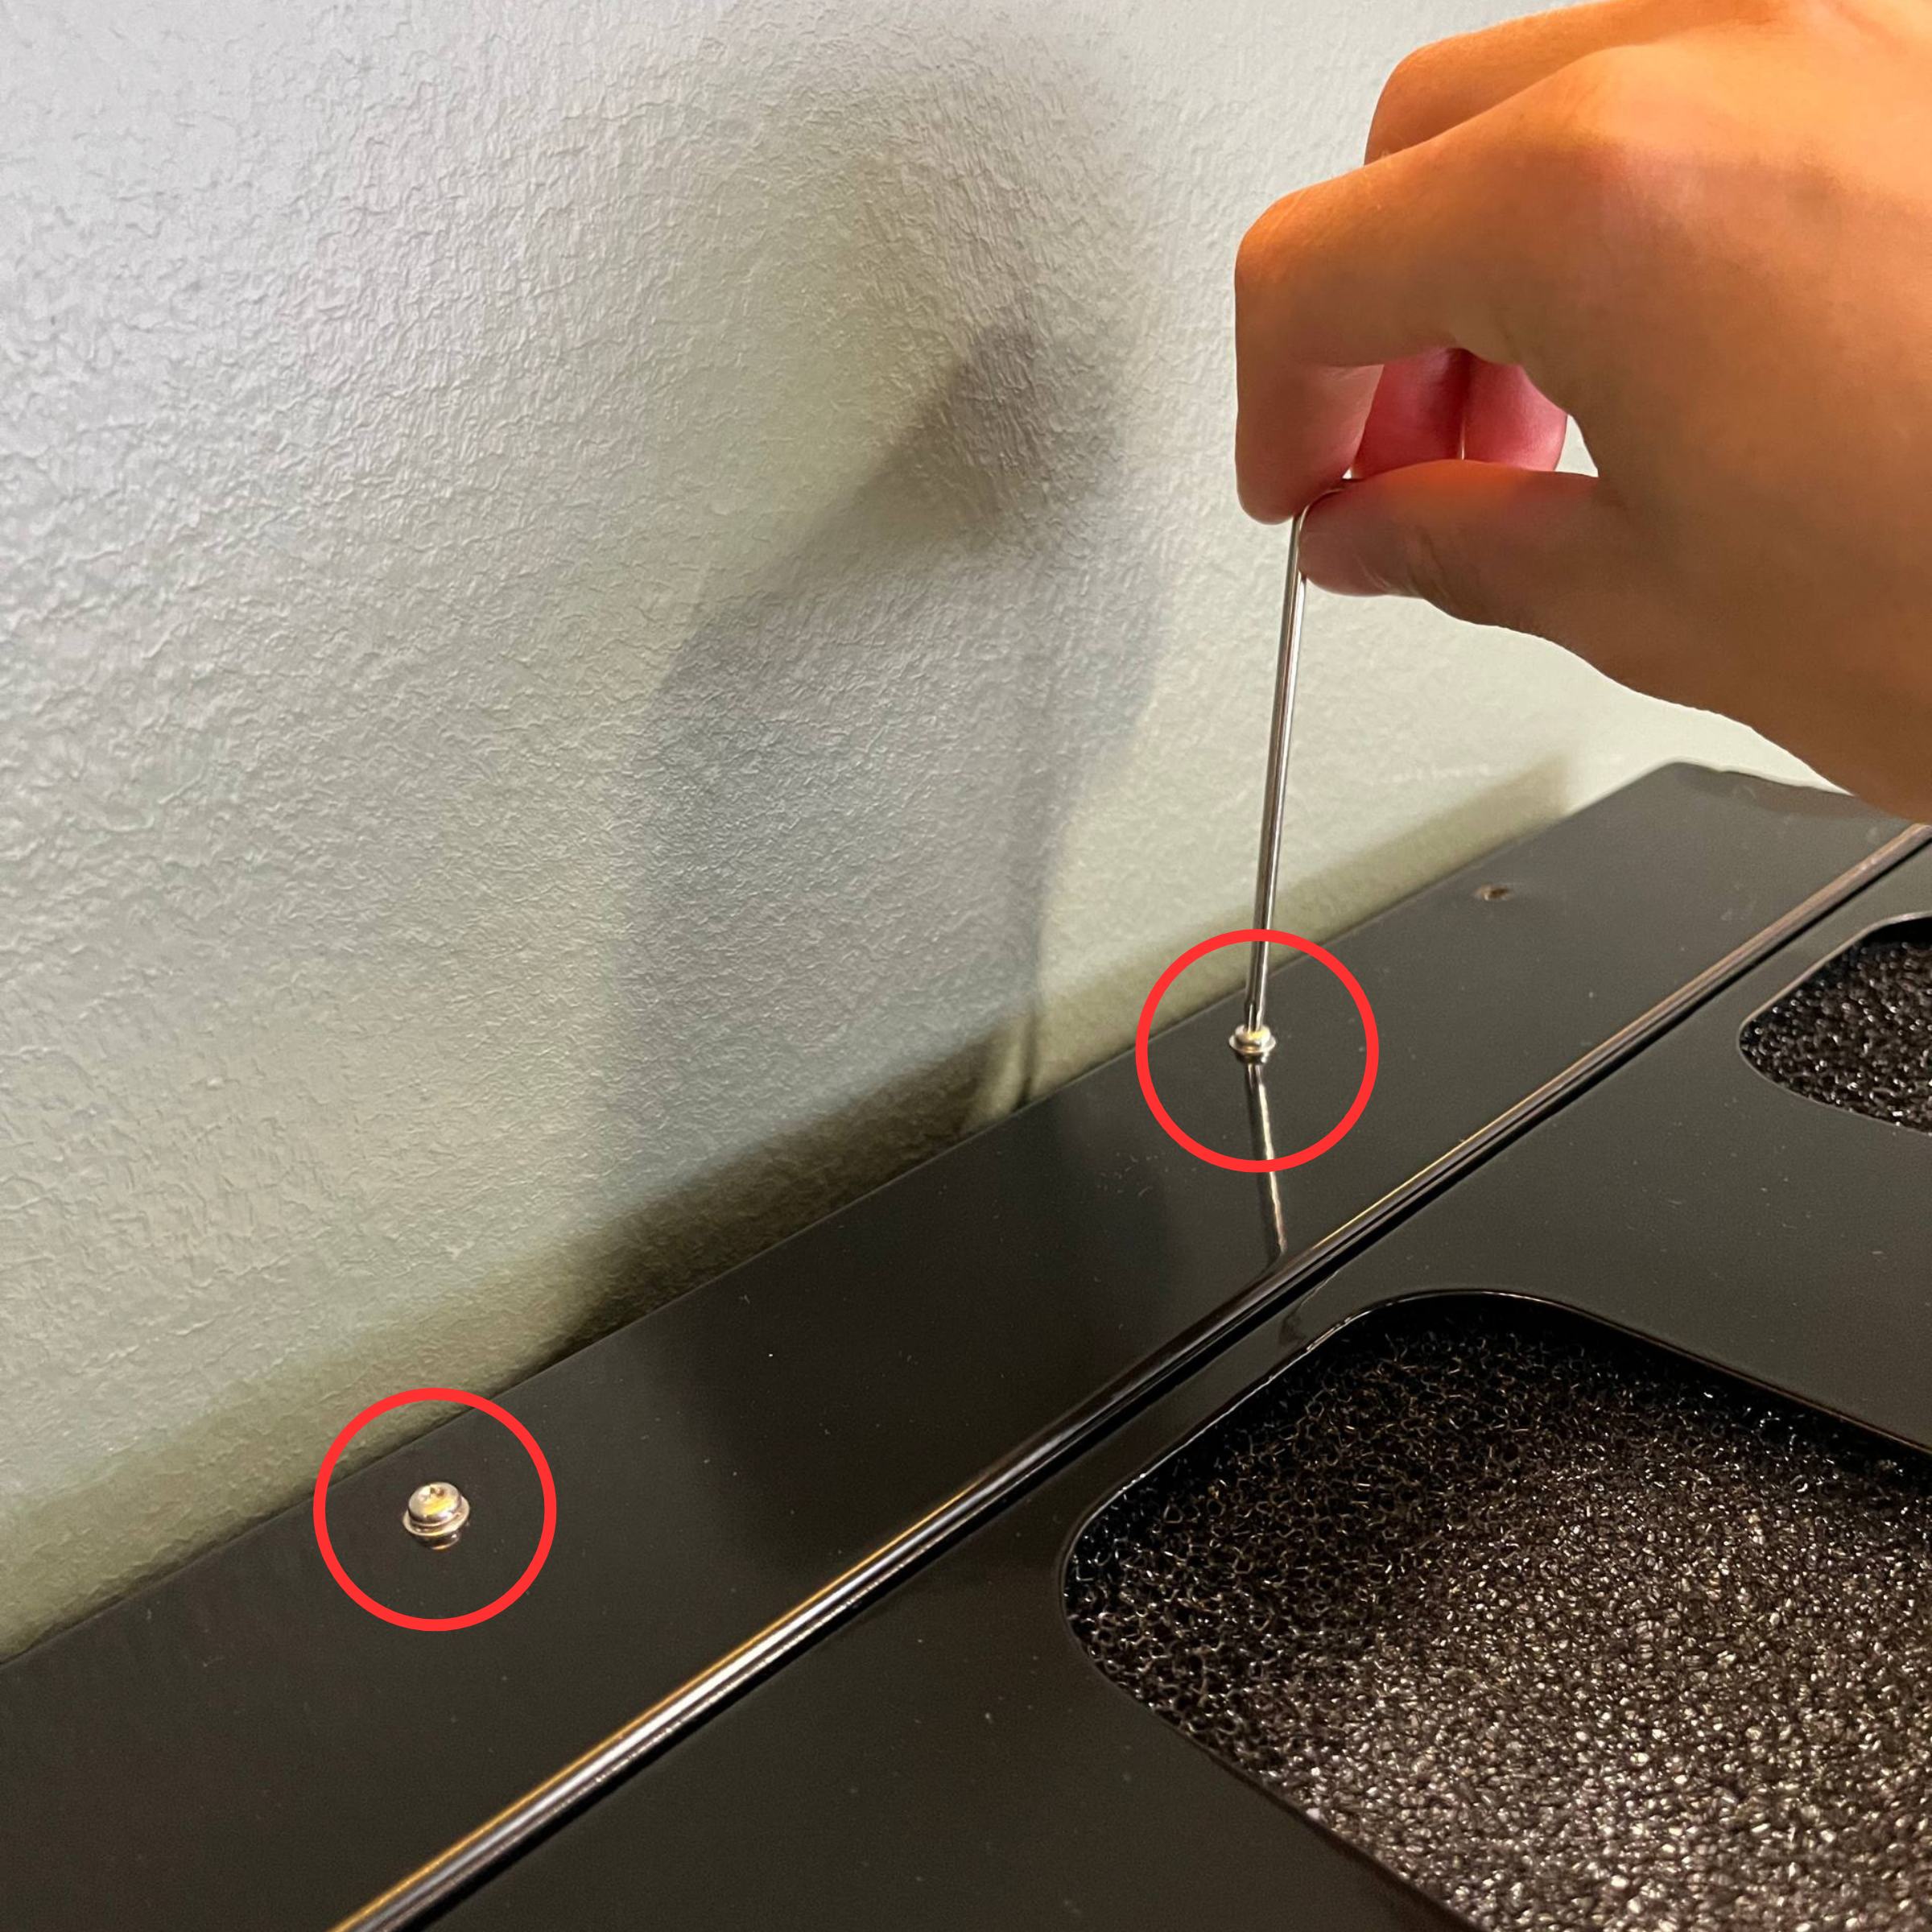
Step 3: Lower and drain the fog tank
Lower the fog tank until it reaches the wider point on the frame. Tilt it to the right so the drain tube starts emptying it, and wait until it is fully empty.
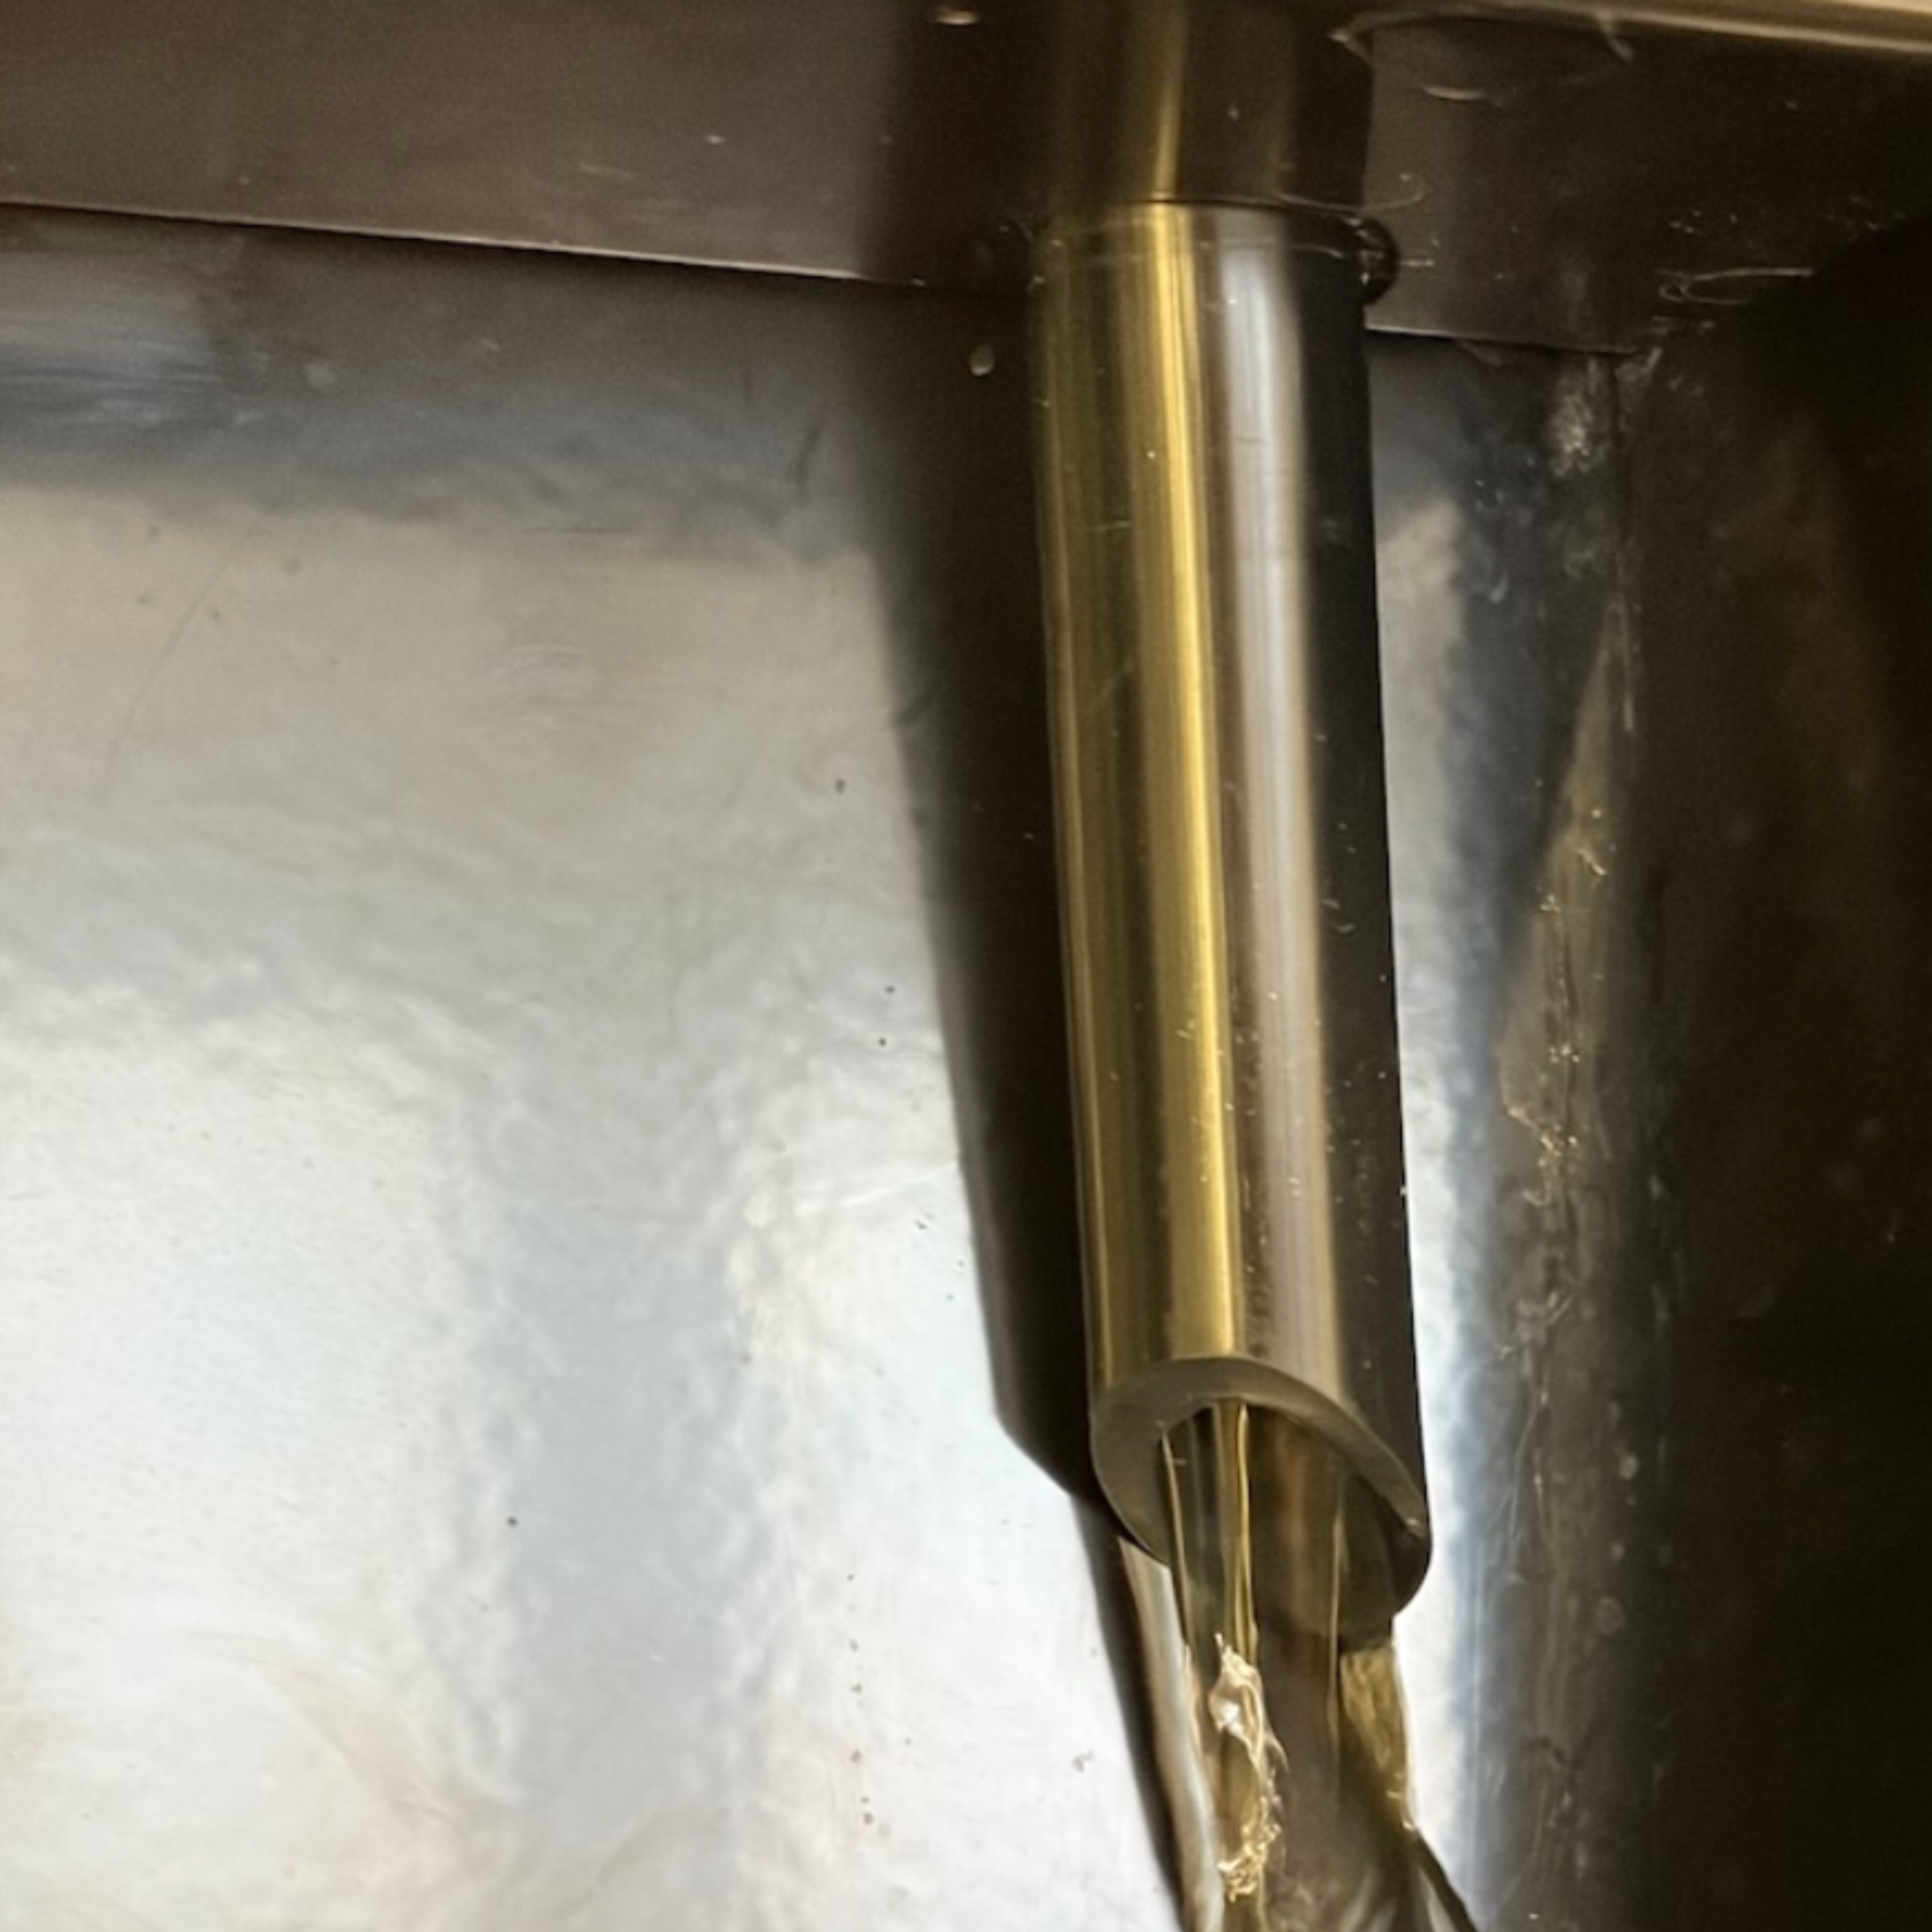
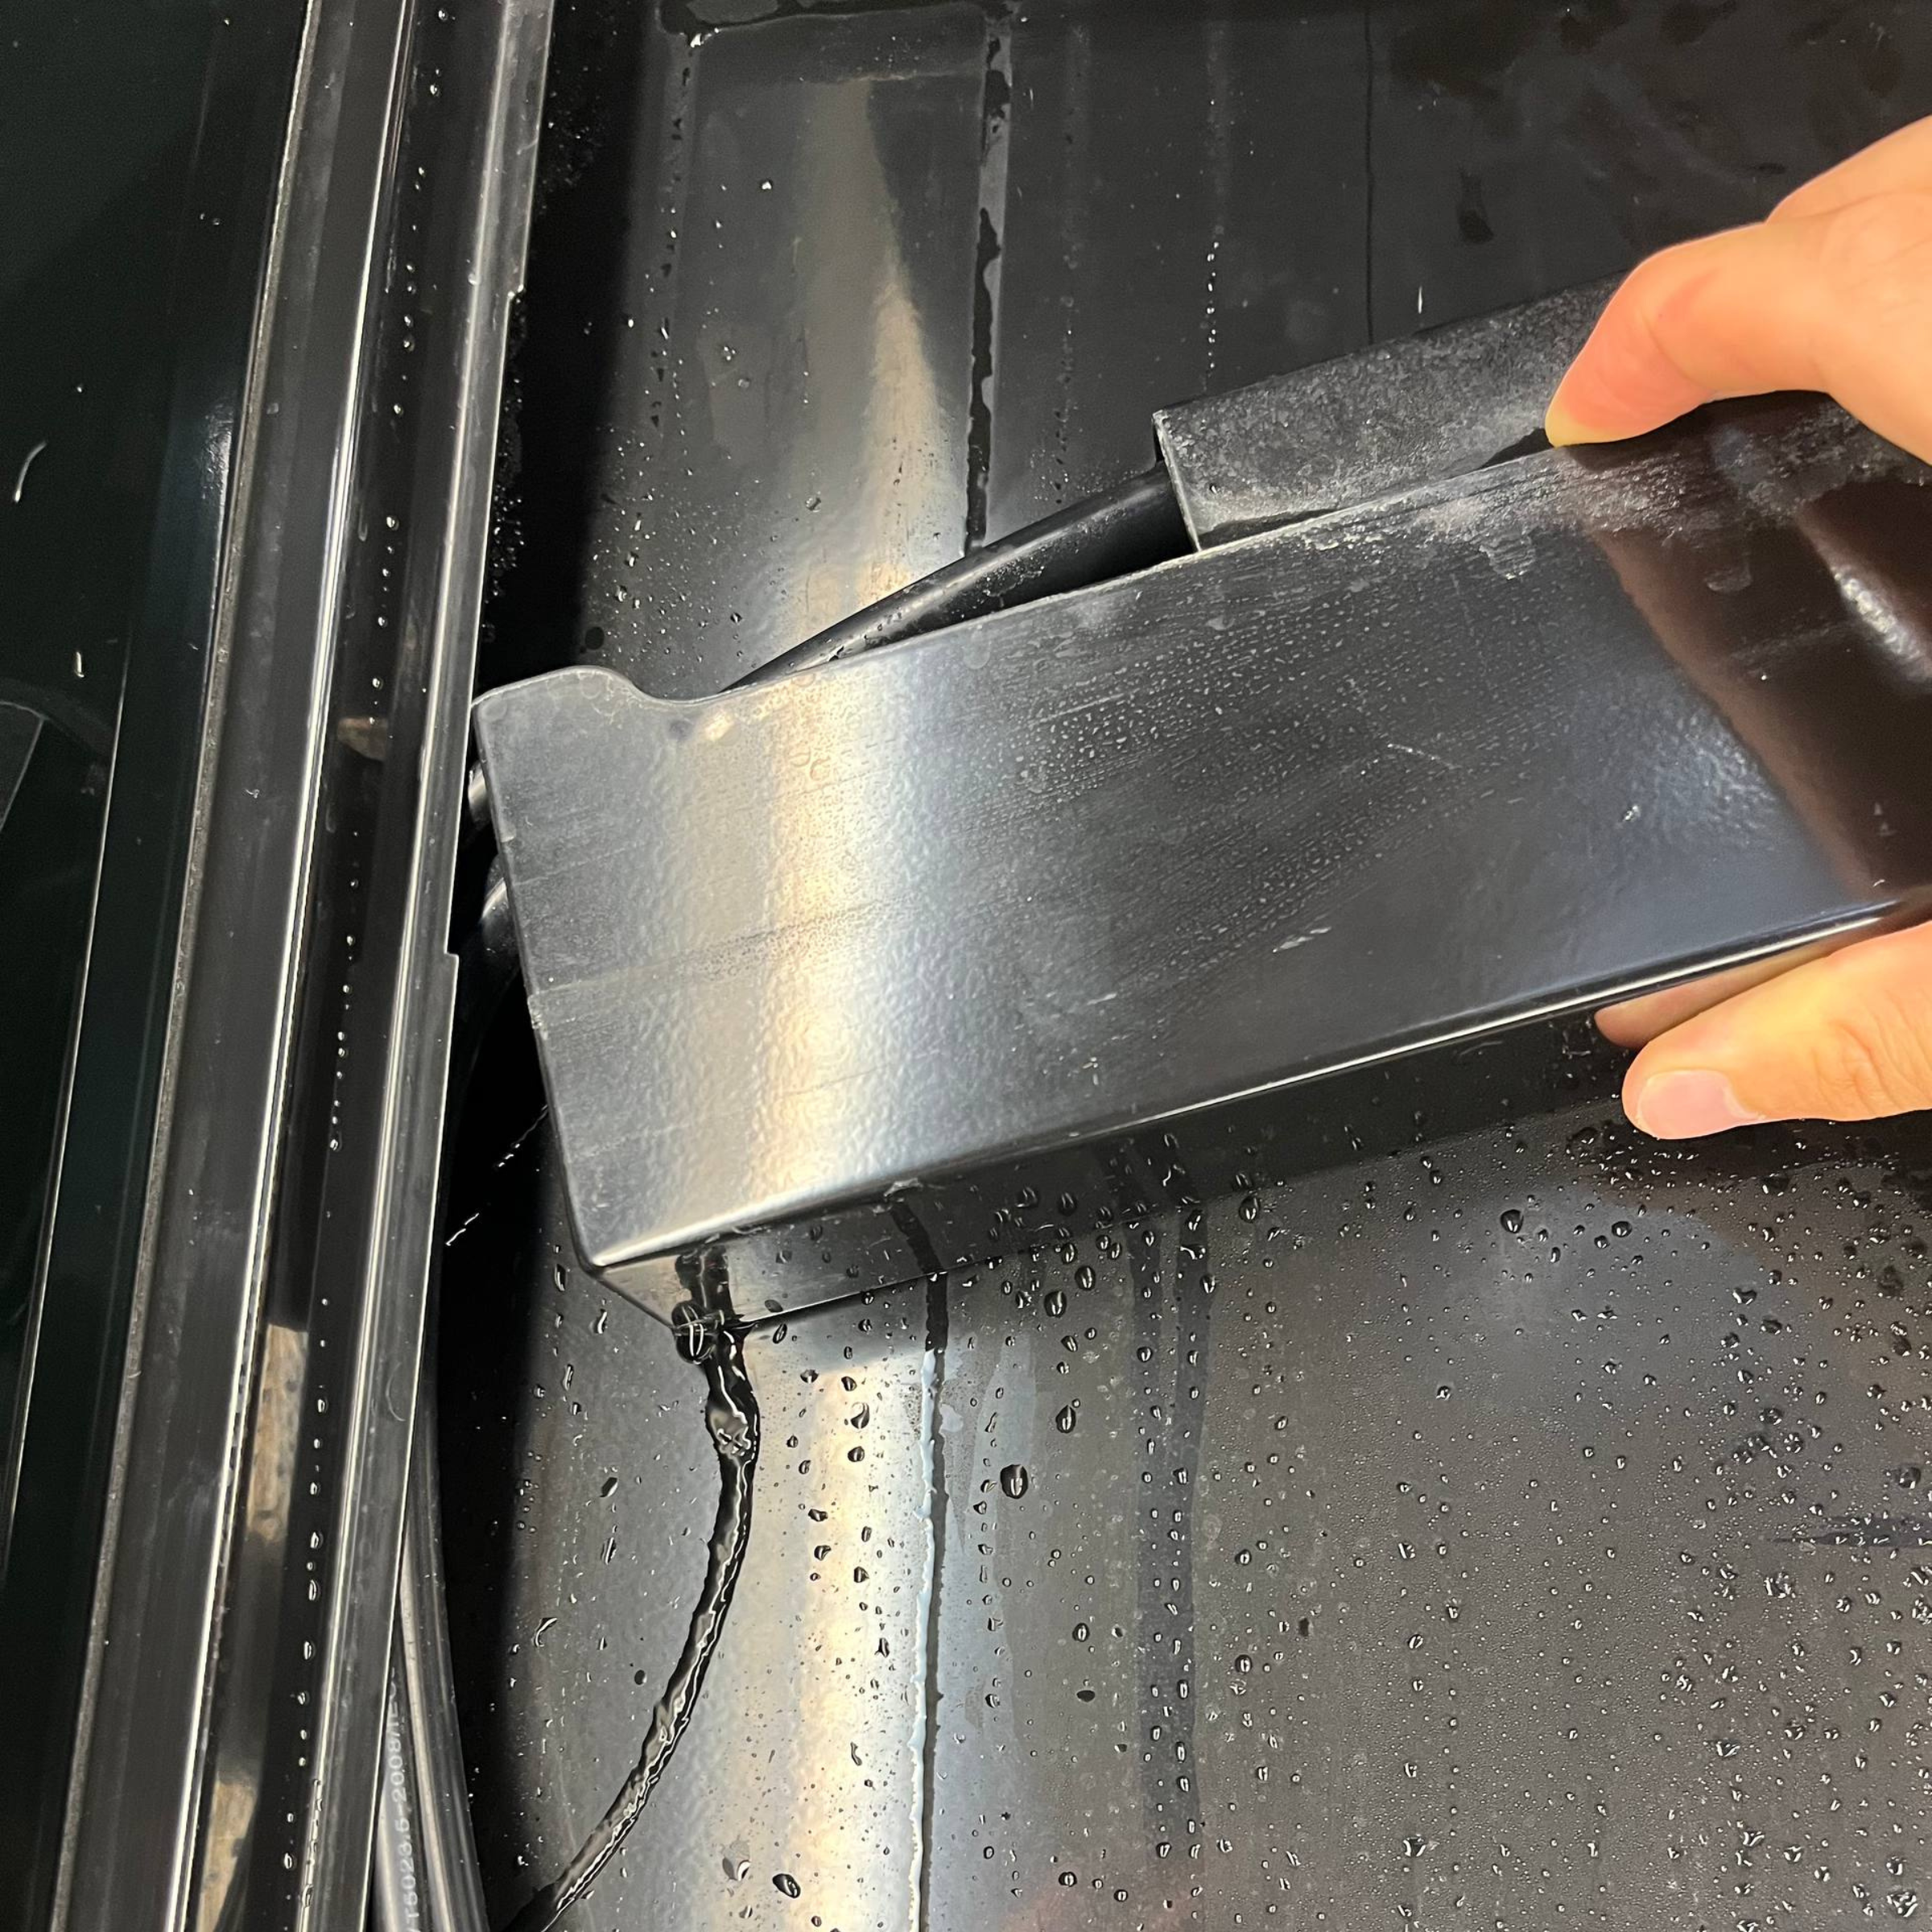
Step 4: Take the fog tank out
Lift the fog tank clear of the frame and hold it over a surface that water will not damage.
Reinstalling the fog tank
If you removed the fog tank as part of another task, finish that task before you put the tank back.
Hold the fog tank against the frame from below and line it up with the two screw holes.
Refit the two middle screws with the T10 screwdriver, then tighten them.
Plug the cabinet back in.
Still need help?
If you could not reach the fogger, or you are not sure what you are looking at, email support@vext.fi and we will pick up from here.